Resize Images and Keep Them Clear: Practical Guide | FreeFast Blog
Image Conversion
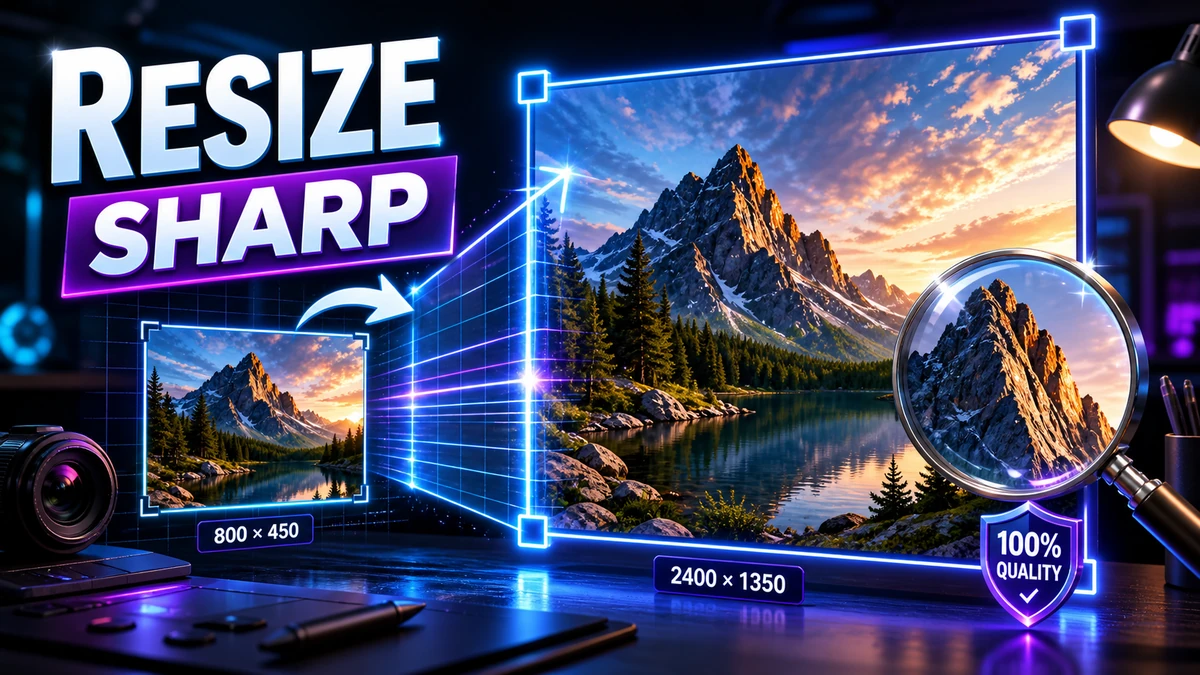
Resize Images and Keep Them Clear: Practical Guide
FF
FreeFast Team
9 min read
You need to make an image bigger—or smaller—but you're worried about quality. Will resizing make it blurry? Pixelated? Will it look terrible?
The answer depends on how you resize and which direction you're going. This guide explains exactly how to resize images while preserving maximum quality, whether you're scaling up, scaling down, or changing dimensions for specific purposes.
Understanding Image Resolution
Before resizing, understand what you're working with.
What Is Resolution?
Resolution is the number of pixels in an image, expressed as width × height:
Recommendation: Always keep aspect ratio locked unless you specifically need to distort/stretch.
Troubleshooting Quality Issues
Problem: Upscaled Image Is Blurry
Why: Not enough original pixel data to enlarge without degradation.
Fixes:
Try AI upscaling tools (Topaz, Waifu2x)
Accept the maximum size that looks acceptable
Find a higher-resolution source image
Problem: Resized Image Looks Pixelated
Why: Scaling up too aggressively, or using Nearest Neighbor interpolation.
Fixes:
Use Bicubic or better interpolation
Apply slight blur after upscaling, then sharpen
Don't exceed 200% enlargement with traditional methods
Problem: Colors Changed After Resizing
Why: Color profile issues during conversion.
Fixes:
Ensure color profile is preserved
Use "Convert to sRGB" for web images
Check your software's color management settings
Problem: File Size Increased After "Reducing" Size
Why: Saved in higher-quality format or uncompressed.
Fixes:
Use appropriate compression (JPG at 80-85%)
Convert to WebP for smallest files
Don't accidentally convert to PNG if file was JPG
Best Practices Summary
For Best Quality When Resizing Down
Start with the highest-quality source
Use high-quality resampling (Bicubic or Lanczos)
Resize once to final dimensions (avoid multiple resizes)
Sharpen slightly after resizing (optional)
For Best Quality When Resizing Up
Keep enlargement to under 200% when possible
Use AI upscaling for significant enlargement
Use Bicubic Smoother or Preserve Details
Accept that some quality loss is inevitable
Frequently Asked Questions
Can I make a small image bigger with quality checks?
Traditional methods will always lose some quality when enlarging. AI upscaling tools can do remarkably well, but even they can't add detail that wasn't originally captured.
What's the best format for resized images?
For web: WebP or JPG (small size, good quality)
For editing: PNG or TIFF (lossless, for continued work)
For print: TIFF or high-quality JPG
How do I resize multiple images at once?
Batch resizing options:
Photoshop's Image Processor
GIMP's batch processing
Online batch tools
Command-line tools like ImageMagick
What size should I resize photos for email?
600-800 pixels wide is usually sufficient for viewing. Keep file size under 1-2 MB per image. JPG at 80% quality works well.
Does resizing affect EXIF data?
Resizing may alter some EXIF data. Most tools preserve basic metadata, but some may strip it during processing.
Conclusion
Resizing images while maintaining quality is straightforward once you understand the principles:
Key Points to Remember:
Scaling down is easy—quality is preserved
Scaling up is challenging—use AI tools for best results
Maintain aspect ratio to avoid distortion
Use good interpolation (Bicubic, Lanczos)
Resize once to final size—avoid repeated resizing
Quick Decision Guide:
Need smaller image? → Any tool, quality preserved
Need larger image (modest)? → Bicubic Smoother, up to 200%
PNG to JPG: When to Convert (and When You Shouldn't)
PNG to JPG can shrink an image by 70% or more — but only for the right files. Here's exactly when to convert, when to keep your PNG, and how to do it without losing quality.