Image Compression Explained: Reduce File Size | FreeFast Blog
Image Conversion
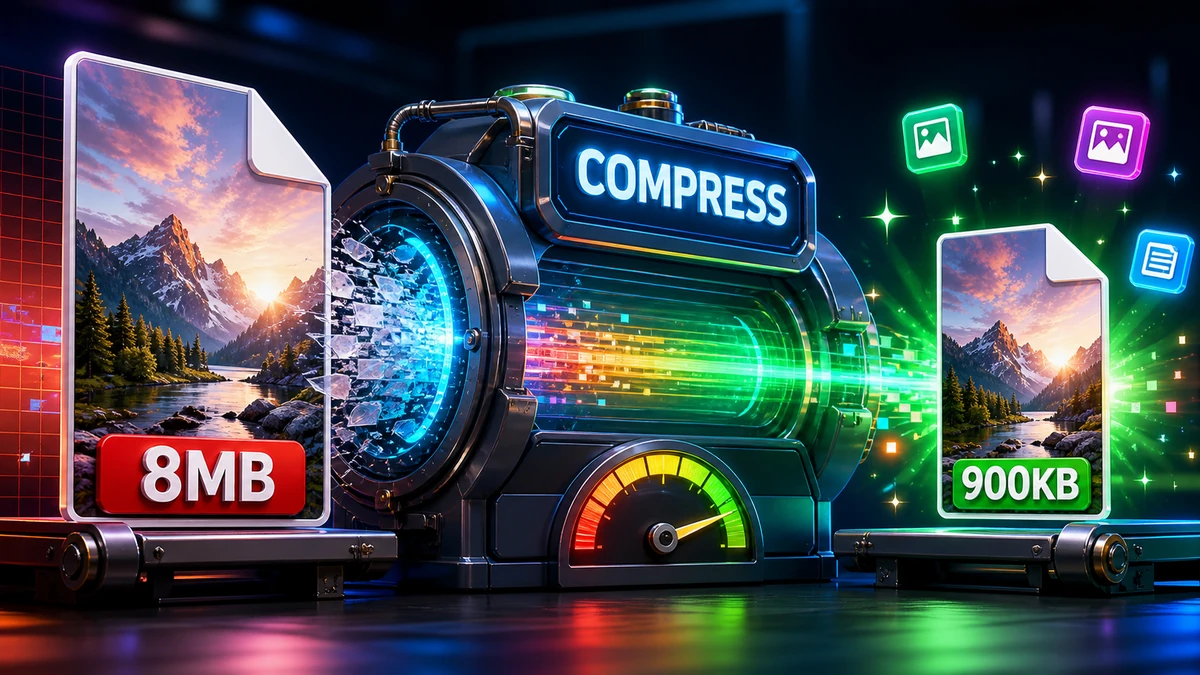
Image Compression Explained: Reduce File Size
FF
FreeFast Team
10 min read
Your images are too big. They're slowing down your website, filling up your storage, and taking forever to email. But you've heard horror stories about compression destroying quality.
Here's the truth: image compression, done right, is nearly invisible. You can shrink files by 80% or more while keeping them looking virtually identical to the original.
This guide explains exactly how image compression works and how to use it effectively.
What Is Image Compression?
Image compression reduces file size by encoding image data more efficiently and/or removing unnecessary information.
Every time you save a lossy format, quality degrades further. Workflow:
Keep original (uncompressed or lossless)
Edit in lossless format (PSD, TIFF, PNG)
Export to lossy ONCE as final step
3. Use Appropriate Settings
Match compression to content:
Photos: 80-85% JPG/WebP
Graphics with text: PNG (lossless) or very high quality JPG
Icons: PNG-8 or SVG
4. Preview Before Saving
Most tools let you compare original vs. compressed. Look for:
Banding in gradients
Blockiness in solid areas
Blurring of fine details
Halos around edges
"Pro tip: View at actual-size zoom when comparing. Many compression artifacts are invisible when zoomed out but visible at actual pixels."
Common Compression Mistakes
Mistake #1: Using maximum quality
Why it's a mistake: maximum quality is still lossy for JPG—and files are much larger than 90% with virtually no visible difference.
Fix: Use 85-90% for high quality, 80-85% for general use.
Mistake #2: Re-compressing Compressed Images
Why it's a mistake: Each compression pass degrades quality further.
Fix: Always work from originals. Save as lossless until final export.
Mistake #3: Wrong Format for Content Type
Why it's a mistake: JPG adds artifacts to graphics; PNG bloats photos.
Fix:
Photos → JPG/WebP
Graphics/logos/screenshots → PNG/WebP
Mistake #4: Compressing Then Resizing
Why it's a mistake: Resizing after compression can emphasize artifacts.
Fix: Resize first (from original), then compress as final step.
Platform-Specific Optimization
For Websites
Image Type
Recommended Settings
Hero images
WebP, 80%, max 200 KB
Content images
WebP, 80%, max 100 KB
Thumbnails
WebP, 75%, max 30 KB
Icons
SVG or PNG-8
For Email
Resize before compressing
JPG at 80% for photos
Keep individual images under 1 MB
Keep total attachments under 5 MB
For Social Media
Each platform re-compresses uploads. Upload at:
Maximum quality your budget allows
Platform-recommended dimensions
JPG or PNG depending on content
Measuring Compression Results
File Size Comparison
Simple metric: Original size vs. compressed size.
Good compression: 60-80% reduction for photos at 80% quality.
Visual Quality Assessment
View original and compressed side by side
Check at actual-size zoom
Look at gradient areas (sky, skin)
Check text and edges
Examine detailed textures
Quality Metrics (Technical)
Metric
What It Measures
SSIM
Structural similarity (0-1, higher better)
PSNR
Peak signal-to-noise ratio (dB, higher better)
VMAF
Video/image quality (0-100, higher better)
For most purposes, visual inspection at actual-size zoom is sufficient.
Frequently Asked Questions
What's the best compression for photos?
WebP at 80-85% quality offers the best size/quality balance. For broad compatibility, use JPG at the same quality levels.
Can I decompress a compressed image?
No. Lossy compression permanently removes data. Always keep your originals.
How small can I make an image file?
Depends on content and acceptable quality. A photo can often be reduced to 5-10% of original size at 70-80% quality. But "too small" is when you see visible artifacts.
Will Google penalize compressed images?
No—Google encourages compression for faster loading. Just don't compress so much that images look obviously degraded.
What's better: 80% quality or smaller dimensions?
For web use, both work. But:
Reducing dimensions loses detail at any size
Quality compression preserves detail, just reduces precision
Often the best approach is appropriate dimensions PLUS quality compression.
Is PNG compression lossless?
Yes! PNG only uses lossless compression. The quality is identical to the original—compression just makes the file smaller, not lower quality.
Conclusion
Image compression is a powerful tool when used correctly:
Key Points to Remember:
80-85% quality is the sweet spot for most uses
Lossy compression is fine—invisible when done properly
Compress once from the original, not from compressed copies
PNG to JPG: When to Convert (and When You Shouldn't)
PNG to JPG can shrink an image by 70% or more — but only for the right files. Here's exactly when to convert, when to keep your PNG, and how to do it without losing quality.